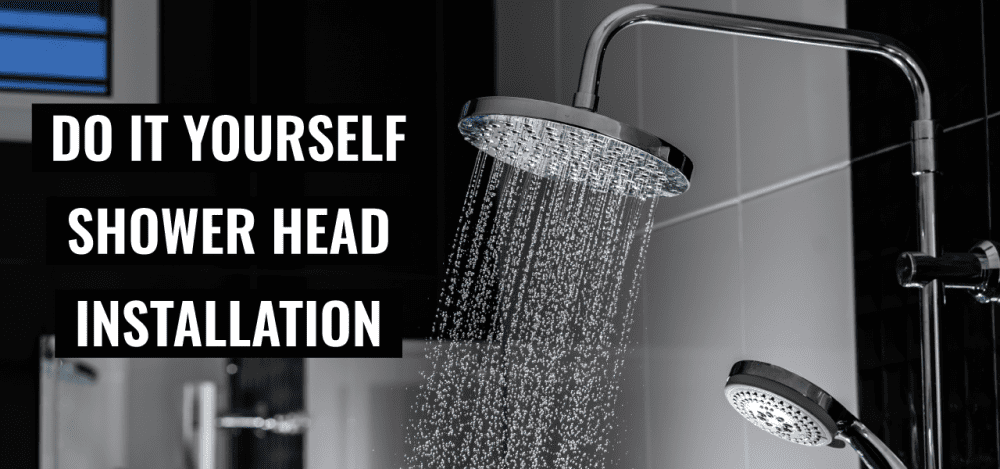
Change A Shower Head Yourself: Easy DIY Guide 2026
Changing a shower head is a simple DIY task requiring just a few tools.
Refreshing your bathroom with a new shower head doesn't require professional expertise. With the right guidance, anyone can undertake this straightforward task, saving time and money. In this article, you'll learn step-by-step how to change your shower head yourself, utilizing both practical tips and expert insights that simplify the process. Whether you're looking to upgrade for style or improve functionality, this guide will empower you to make the change confidently.
Understanding the Basics
Before you dive into the process, it's important to know what types of shower heads are available. From fixed mounts to handheld models and rain shower heads, each comes with unique features. Knowing the type that suits your needs and bathroom setup will guide your decision-making.
Most standard shower heads attach to a 1/2-inch pipe, making replacements easy. Keep this in mind as you explore your options.
Tools and Materials Needed
Here’s a list of basic tools you’ll need to change a shower head:
- Adjustable wrench or pliers
- Teflon tape (also known as plumber's tape)
- A cloth or rag to protect finishes
Having these tools on hand ensures a smooth process without unnecessary trips back to the hardware store.
Step-by-Step Guide
1. Remove the Old Shower Head
- Turn off the water supply to avoid any unwanted sprays.
- Use the wrench to loosen the existing shower head, gripping it firmly while turning counterclockwise.
- If it's stubborn, wrap a cloth around the fitting to avoid scratches and apply a bit more pressure.
2. Prepare the Shower Arm
- Clean the threads on the shower arm to remove any old plumber's tape or residue.
- Wrap fresh Teflon tape around the threads clockwise, ensuring a good seal that prevents leaks.
3. Install the New Shower Head
- Screw the new shower head onto the arm by hand, ensuring it's straight and aligned.
- Tighten it gently with the wrench, being careful not to overtighten as this can damage the threads.
4. Test for Leaks
- Turn on the water supply and run the shower to check for leaks.
- If you notice any drips, tighten the shower head a little more until no leaks are observed.
By following these steps, you can confidently install a new shower head, enhancing your bathroom's aesthetics and functionality.
Troubleshooting Common Issues
If you encounter issues such as water pressure problems or leaks, they can often be fixed with minor adjustments. Ensure the shower head is properly tightened and the Teflon tape is correctly applied. If issues persist, consider consulting with a professional for further inspection.
Frequently Asked Questions of How to Change a Shower Head Yourself
What tools do I need to change a shower head?
You will need an adjustable wrench or pliers, Teflon tape, and a cloth to protect the shower head's finish.
How long does it take to change a shower head?
Changing a shower head typically takes around 15–30 minutes, depending on experience and accessibility.
Can I change the shower head if the arm is bent?
Yes, but you may need to replace the shower arm if it's bent significantly, which could complicate installation.
How often should I change my shower head?
It's recommended to consider replacing shower heads every 6–8 years, depending on usage and water quality.
Is Teflon tape necessary?
Teflon tape is essential for creating a watertight seal and preventing leaks, making it a necessary component of the installation.
Conclusion
Changing a shower head is a simple yet rewarding task that can breathe new life into your bathroom. By following these steps, you'll achieve a professional finish without the hefty costs. Now is the perfect time to explore new styles and functionalities, transforming your shower experience. Feel inspired to tackle this project? Dive in, make the change, and feel the difference every shower makes.
Ready for more DIY tips or want to share your experience? Leave a comment or subscribe for more insights!